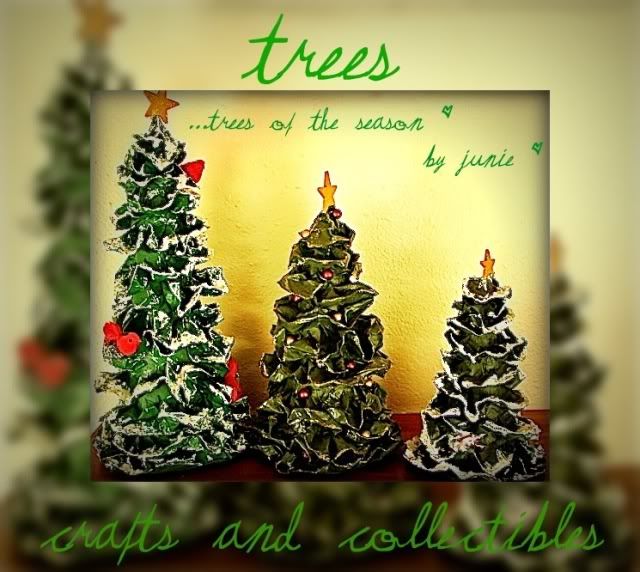
Photobucket Crafts and Collectibles: August 2006

Thursday, August 31, 2006

Resurrected Gourd Project!


Resurrected Gourd Project!

This is a gourd project that I let defeat me some while back; some years back, if truth be told! It was a quite fragile, thin shelled, gourd and while beginning work on it, it cracked! I liked the shape of it so wanted to try but it just became too much of a hassle to work with! (Perhaps I was just fed up with gourds at that time!!) :)

I had already put a lot of work into it- even so far as patching it up with some sort of plaster!

Today, after finding this again, I decided to make this my new beginning!
I worked in finishing up the design I had started-oh, so long ago!
I think for this one I will need to paint the inside - as it will show!

This gourd is unusual and I had never found one of this type before. It’s about 11 inches round but is only about 6 inches high! It is very flat on the bottom. I had in mind making a wall pouch to put holly or other Christmas flowers in! A hanger of wire can easily be added to hang it and it should fit snug against the wall!

This close-up picture shows pretty well what this gourd is like-the shape and also the rough condition of it!

Wish me luck! I may need it!!
But, this time, I will not back down!
I refuse to be defeated by this gourd! :)

Junie (Lady of the Gourds)

Wednesday, August 30, 2006

How To Do Gourds! (Part Three)


...To continue and conclude my GOURD CRAFTS...

Parts one and two can be read at Junie's Place!... Click on my profile to find the way! This place is still under construction, you know!
~~~~~~
How To Do Gourds! (Part Three)

…To continue with my gourd work…

This post is about Birds, Bowls, Vases and Birdhouses.

Only the birds are embellished with paper Mache…or added bits, here and there …as in beaks and hats!


The birdhouses- (mini and full size) - the bowls, and vases-are all done with a wood-burning tool. I draw a freehand design and then burn it out with my burning tool, being careful not to burn through the gourd all the way.
The bowls and vases:


To make the bowl or vase, of course, you have to be able to cut the top part away and clean out the seeds. Sometimes it’s necessary to clean the inside with white vinegar. I sometimes have used a weak bleach solution, to soak for a while. The inside has to be scraped and cleaned thoroughly and dried completely before you can continue. Some people even paint the inside, but I never have.
When gourds are completely dry then you are ready to draw your design and then to start your wood burning! A lot of work and time goes into this! I make a decorative design to finish off the edge of these projects (the tops of the bowls and vases and also around the hole in the birdhouses…I also woodburn the dowel that I use for the perch on the birdhouses!

Bowls used for:

Bowls make good holders for nuts or wrapped candy - in bathrooms - trinket holders-
Or planters (lined with foil)
With the vases that are left tall (the pic I’m showing here) it is not necessary to do more than remove the seeds. That is MY WAY, at least!

Vases used for:

I use these vases for dried flowers etc…. especially pretty for fall decorating!

Birdhouse:


The same process is used- except you’re working with the whole gourd and a hole has to be cut out, after you decide what size you need! (By husband/boyfriend with a fancy power, hole cutting tool!)
:) This can also be done with your wood-burning tool. It just takes longer!

Now is time to draw your design and then start your wood burning!
(I like the Sun Fower design as it gives you a good place for the opening for the birds, but still is an attractive finished design. I add the perch after I have my design drawn, so I know just where I want it!

Painting is the best part! After it’s all painted I usually go over a lot of the burned lines to make it all stand out just perfect and bold!

The last step is the spray varnish to cover the item -as many coats as you like!

Enjoy!


Junie

Tuesday, August 29, 2006

Welcome !

WOW!!

Just what I've always wanted...more space for my crafts-collectables-toys and dolls!

I think this will work out fine-all this extra room!

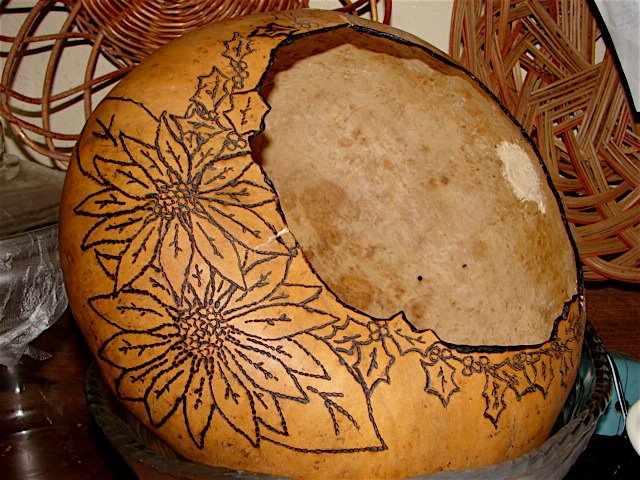
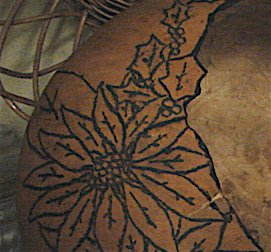
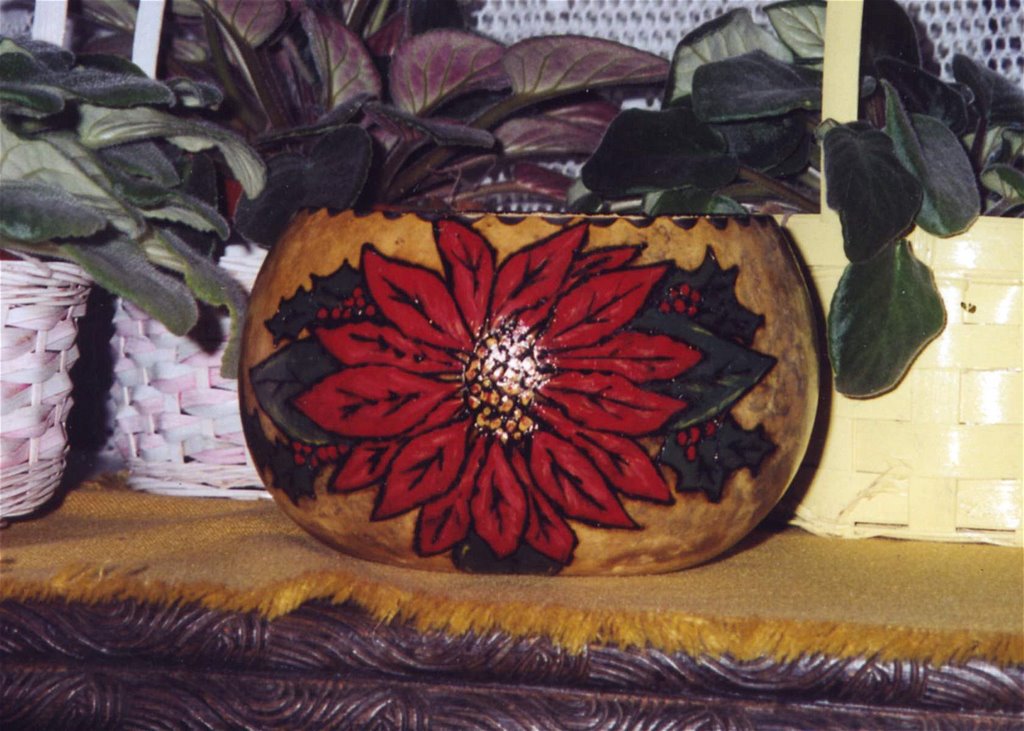
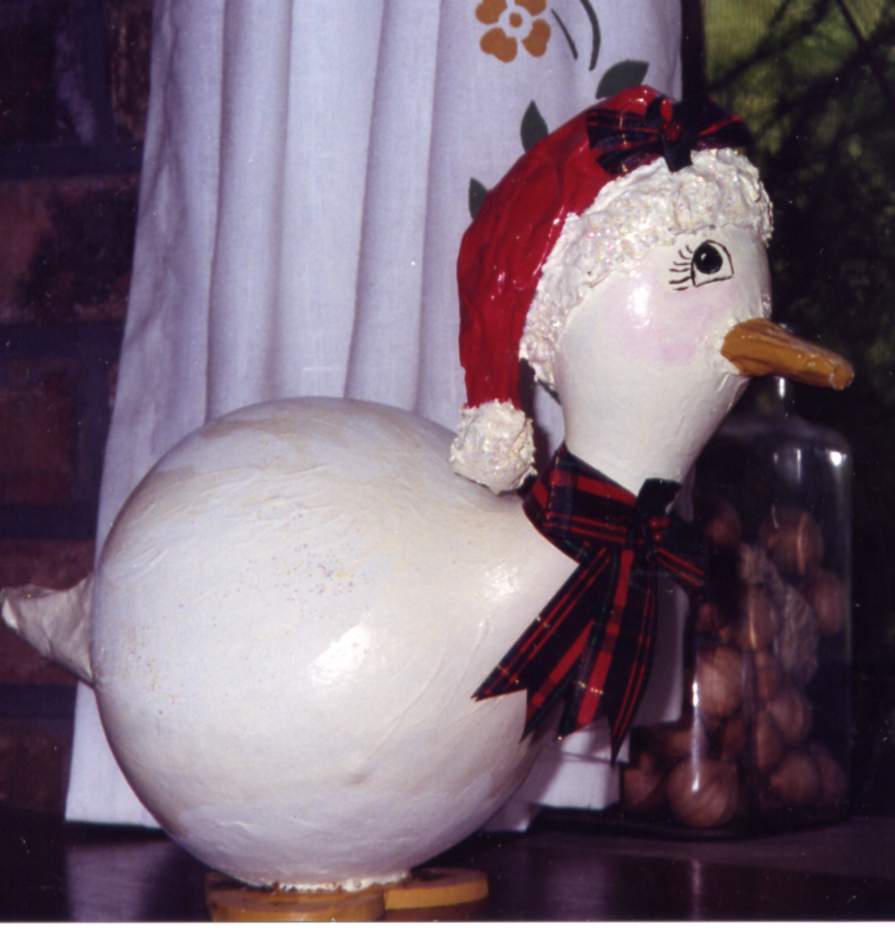
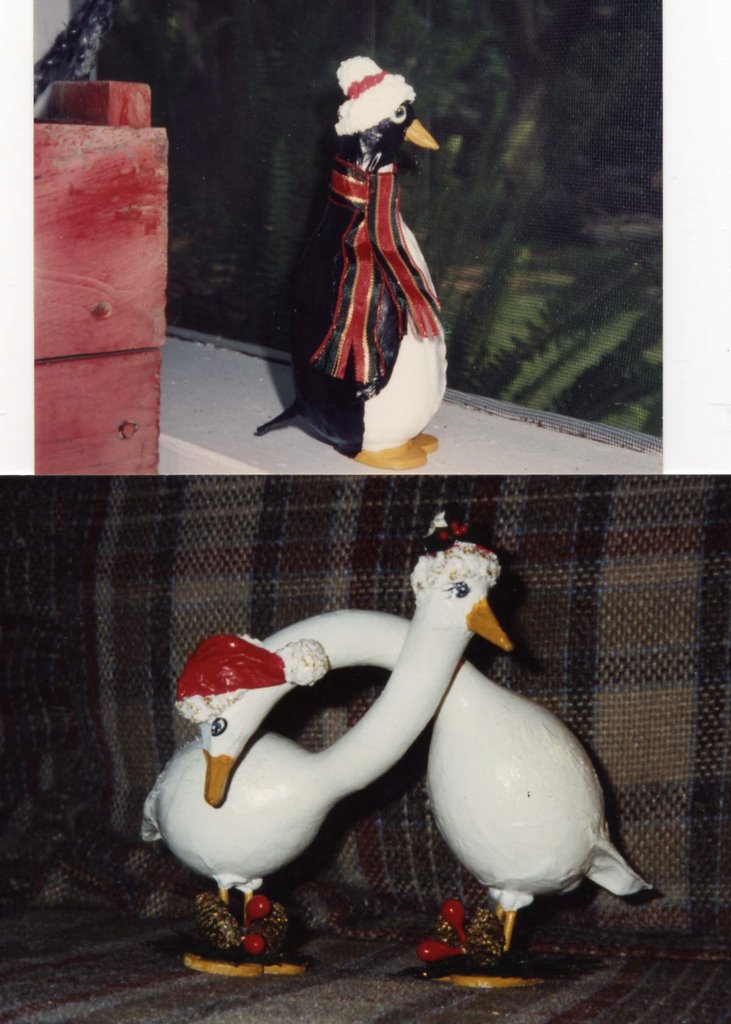
I wish I had been able to secure this neat space before I started the posts on my Gourd Santas and crafts...but I didn't think of it soon enough!....And , perhaps, I didn't realize how much time and space those Gourd Santas would demand! ...But how could I have forgotten how they dominated my life a few years back!!

(I will transfer those 2 long posts from there to here- so it's all together....except all the nice comments my santas got there!!

Oh,well!! No one ever said any of this would be easy...crafting- OR- blogging!!

~~~~

***Some personal Santa history***

I think the idea of Santa Claus was more important to me than to most children! Christmas and the anticipation of Santa coming, make up my dearest, early, memories. I was reluctant to let the concept go...resisted until almost age 12!
And , in my heart, I still have those wonderful feelings during the holiday season!
While the deeper meaning of Christmas is foremost...still-Santa is the MERRY part for me!

I always found the old fashioned stories and pictures best! Nothing more appealing to me than the old world look of the Father Christmas style santas. (Saint Nicks)

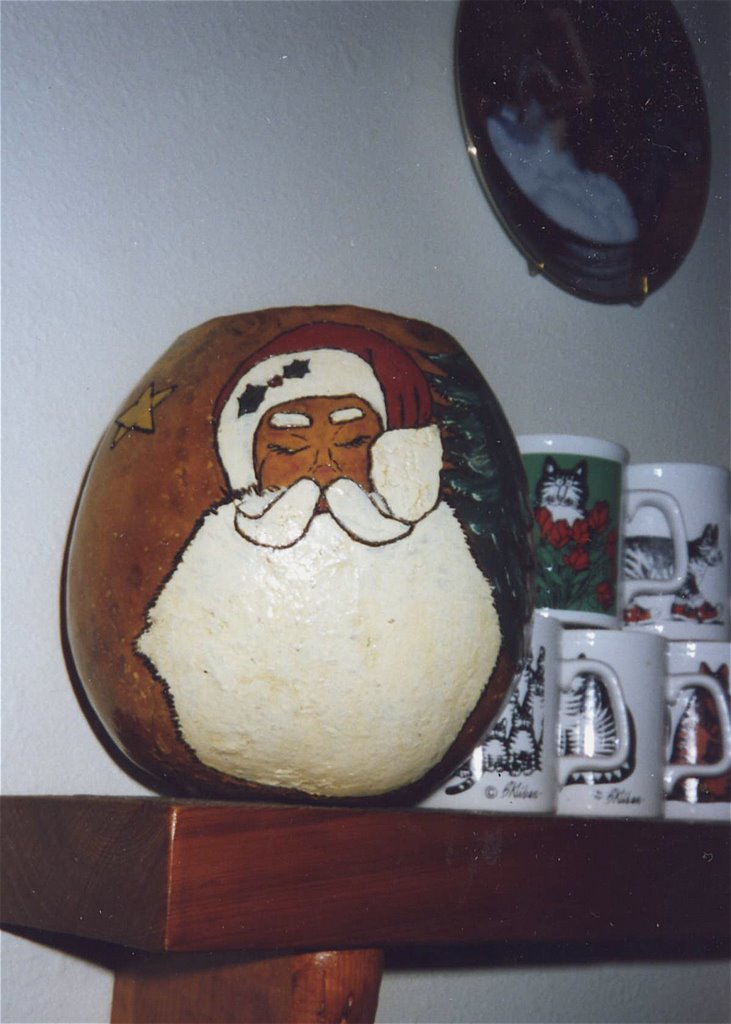
With this in mind, several years ago, I decided to make for myself a Father Christmas style-papier Mache santa! I had never done any such projects and knew nothing of how to go about it!...But I knew what I wanted.

What I did:

I made a crude form using an empty paper towel roll and pipe cleaners. I visualized a figure in a long, fur trimmed robe, with a long flowing beard! I used strips of newspaper, dipped in a flour/water paste and started putting these strips on the form.
(I would later use wallpaper paste)

I realized I needed to make the face before doing the fur trimmed hat... I had no idea how to do the face! (I later discovered a paper clay product and some face molds to use) With this first santa it was all guess work for me- finding ways to make it work! And I did! Crude- but it worked!

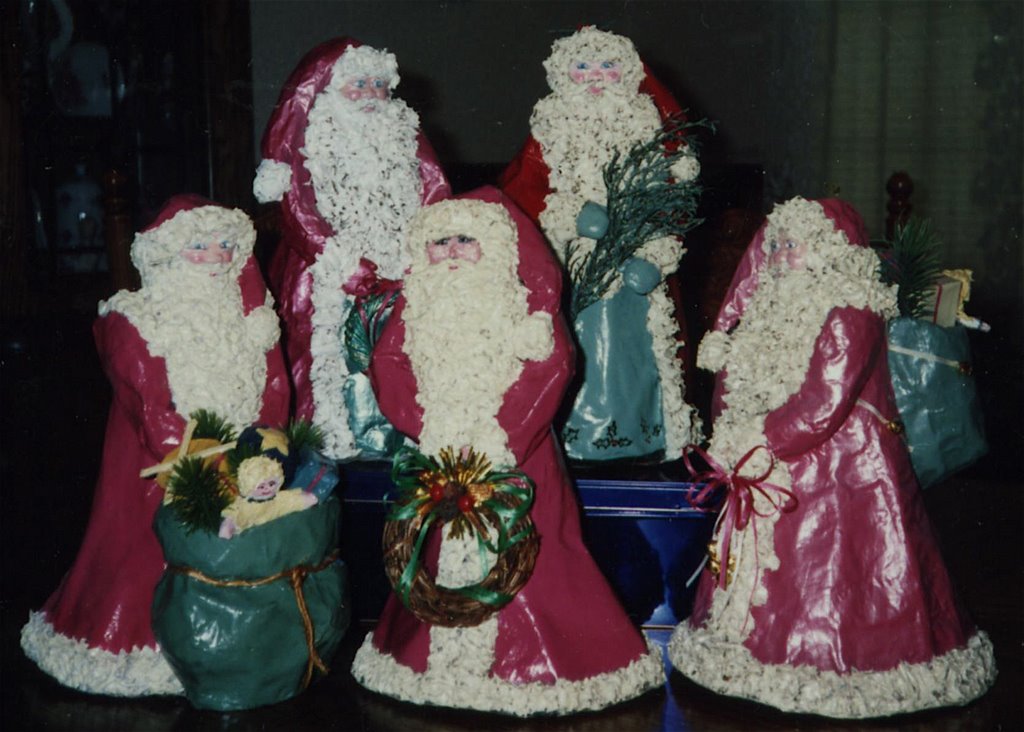
This first santa turned out pretty much as I hoped he would! I painted this first santa in a Rose colored robe- trimmed in antique white! He holds a grapevine wreath!

I went on to make many of this type santa-and improved on each one as I learned more about how things worked! I kept this one and a few others of this style!

These Santas and all my Christmas crafts were signed 'Ginga's Santas.'
Ginga is the name my first grandson gave me over 22 years ago (he's 23years old now! The name was perfect for my craft santas! :)

Here's a picture! My first santa is front and center in this photo! (These are all early ones!)
***A gathering of early 'Ginga's Santas'***


Junie